It seems we can’t find what you’re looking for. Perhaps searching can help.
lisacherie
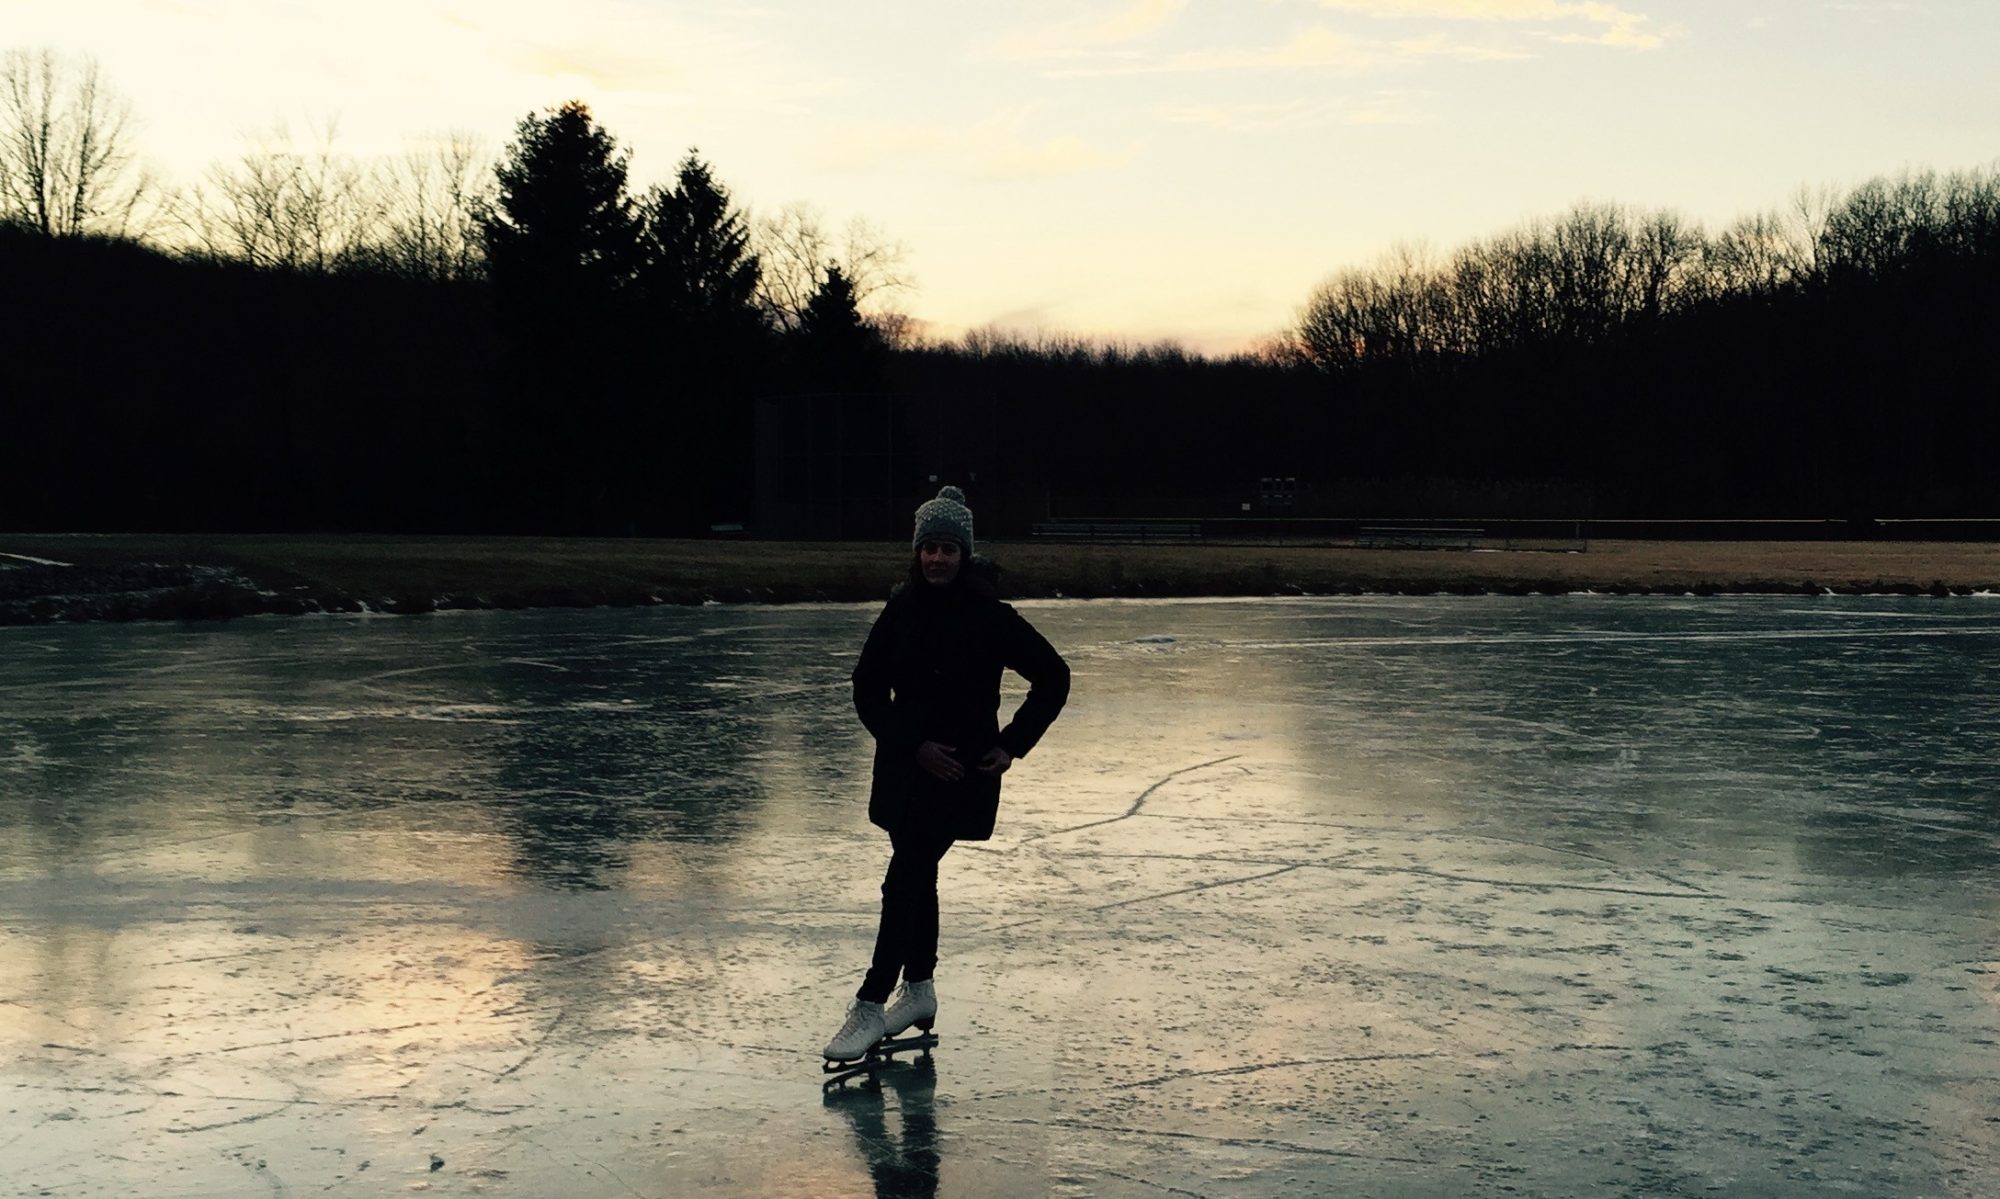
Gone Skating… Унесенные катания на роликовых коньках … 滑冰… 스케이트 타기 … Ido patinando
Gone Skating… Унесенные катания на роликовых коньках … 滑冰… 스케이트 타기 … Ido patinando
It seems we can’t find what you’re looking for. Perhaps searching can help.